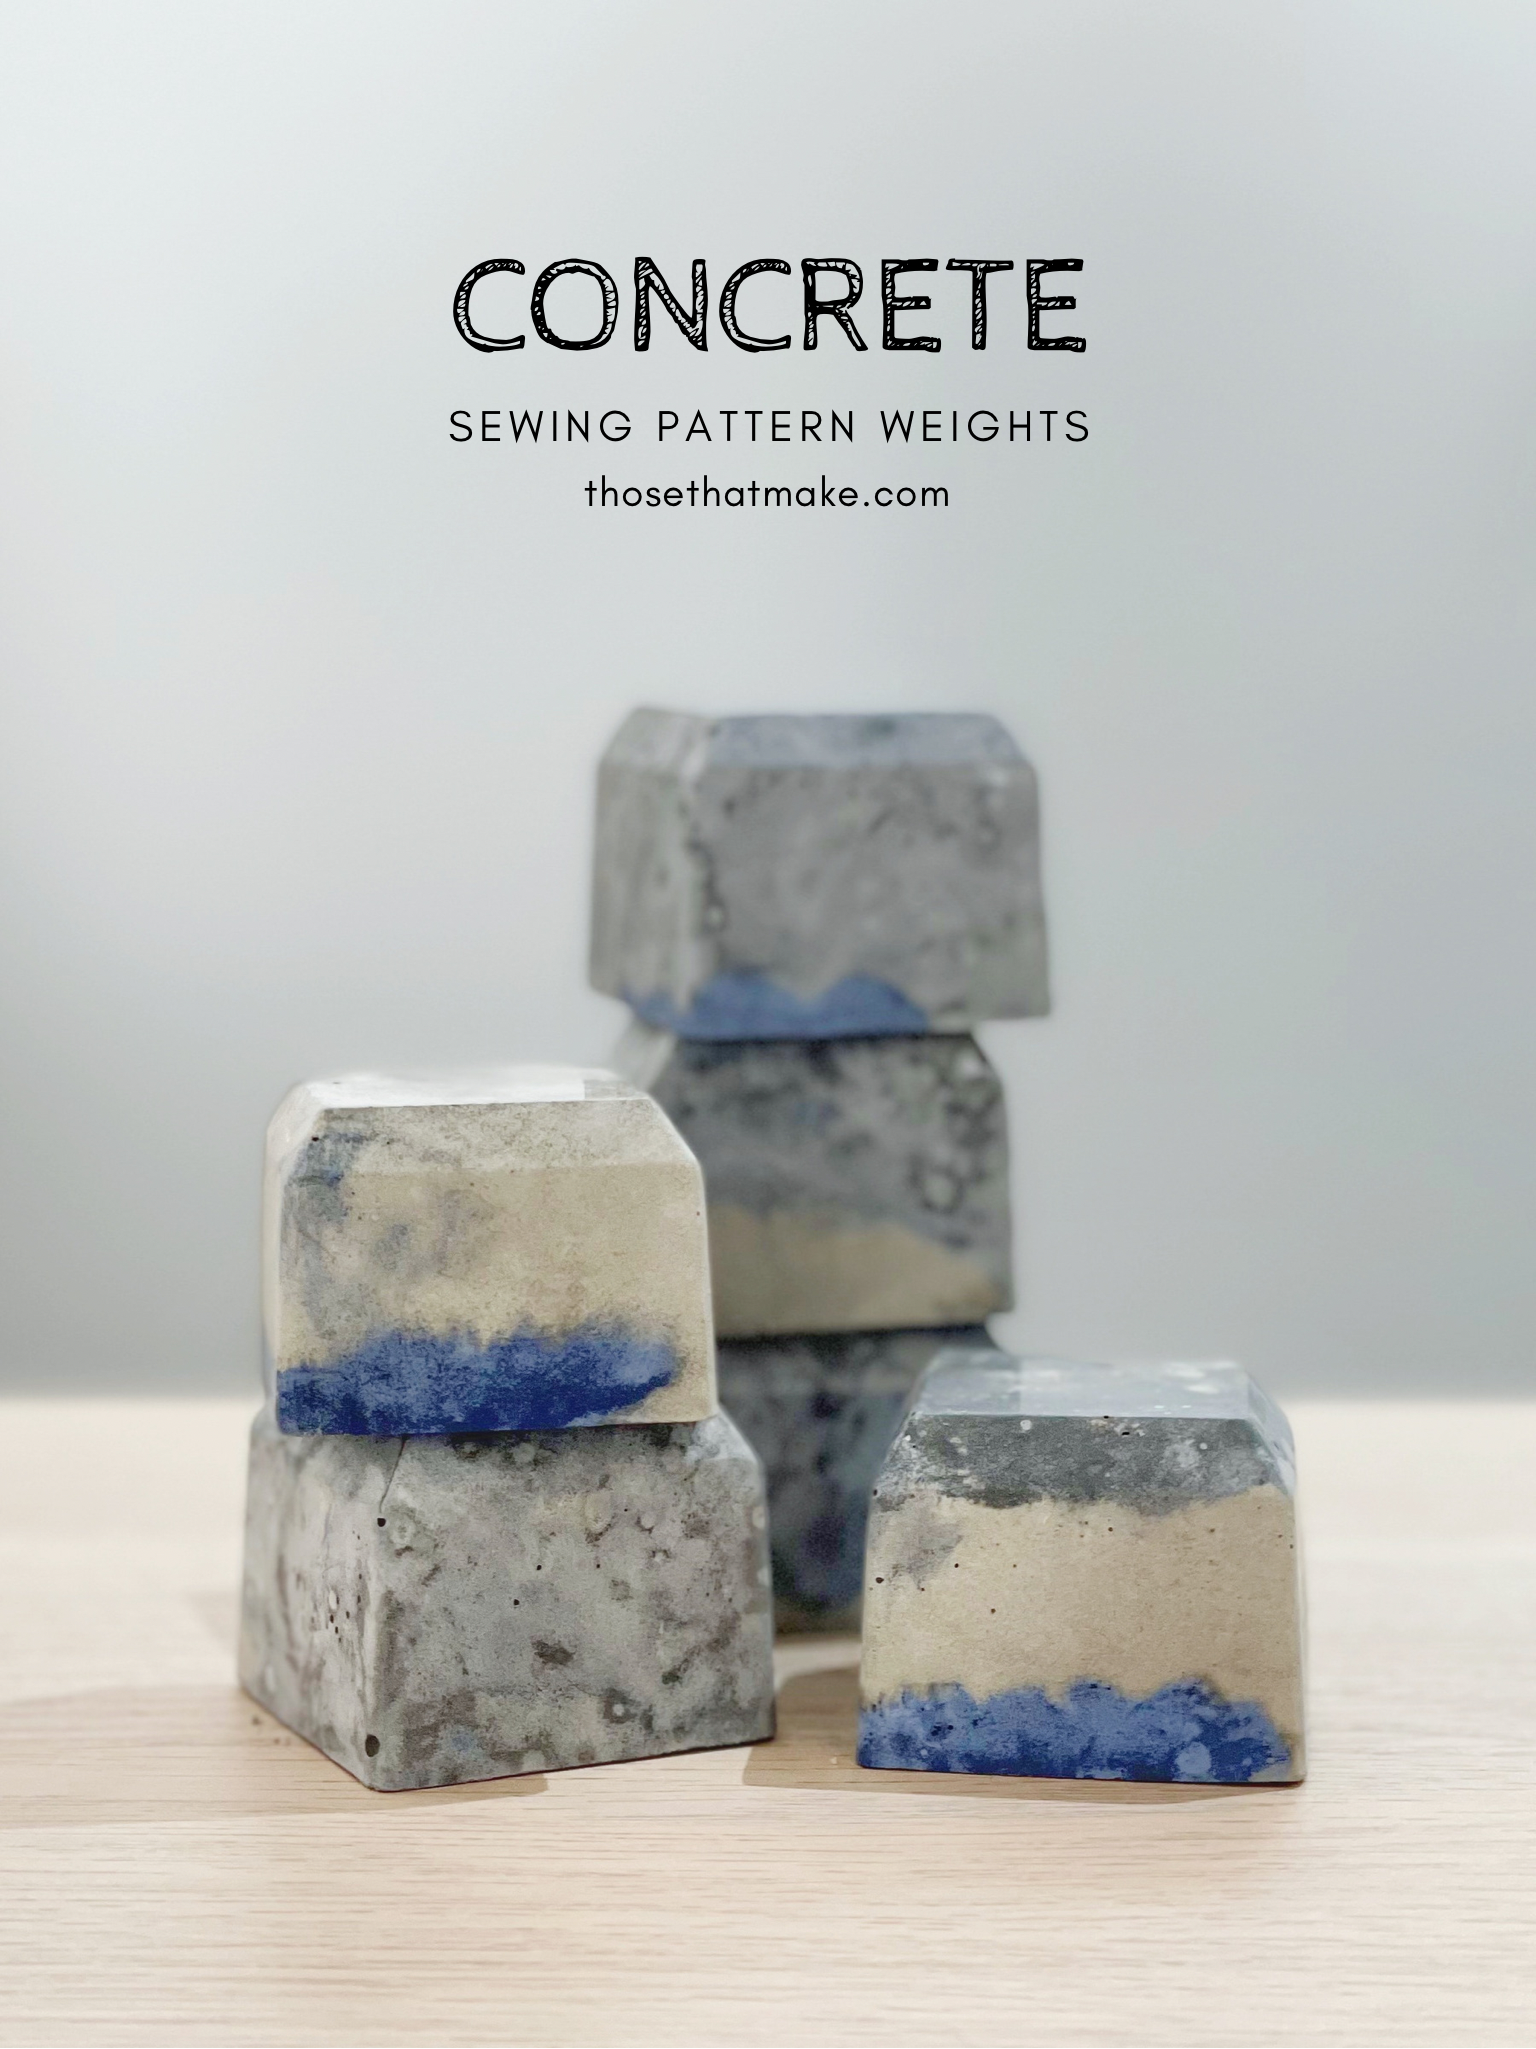
The more I sew, the more I realise that the small steps and details make all the difference in the final product. One of these small steps is making sure the paper pattern is weighed down before cutting. So what better way to inspire me not to skip this step than to make some aesthetically pleasing concrete sewing pattern weights. If you want to make some too, follow along below.
YOU NEED
Materials
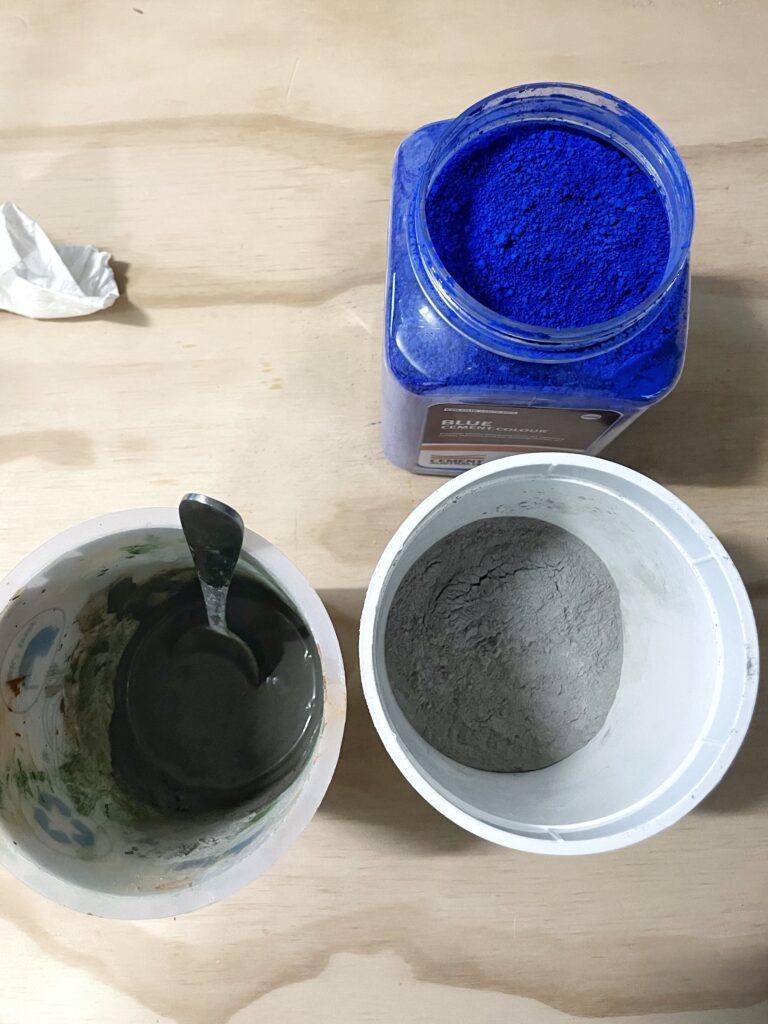
- Concrete mix (I used this concrete sand mix from Bunnings)
- Water
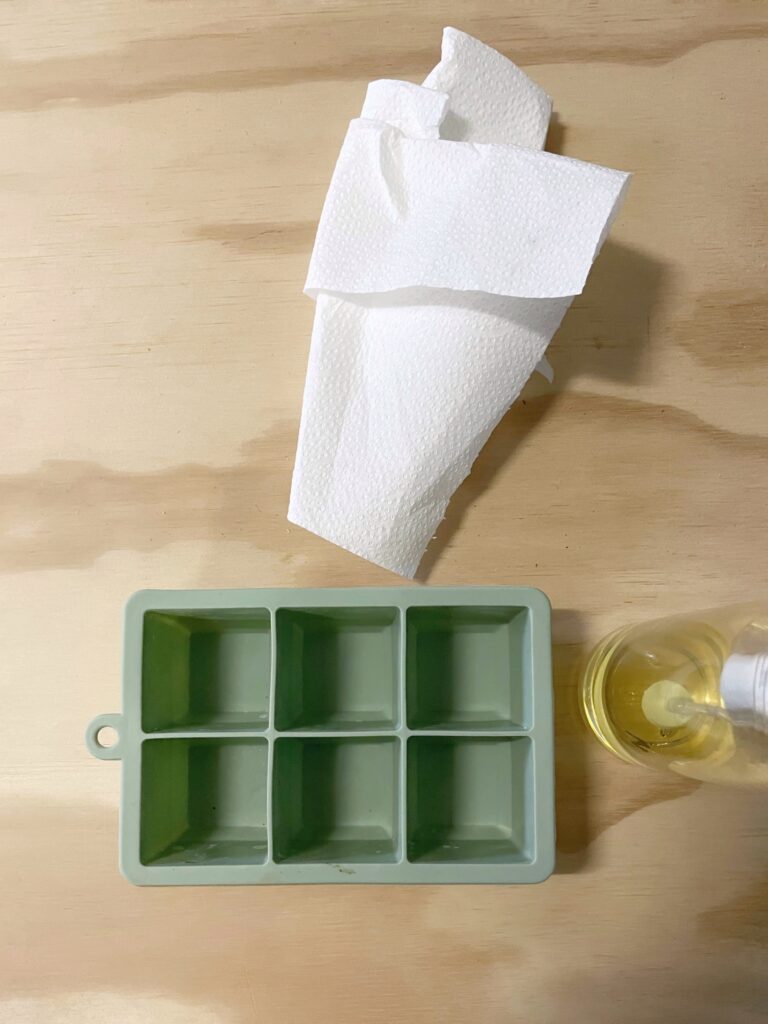
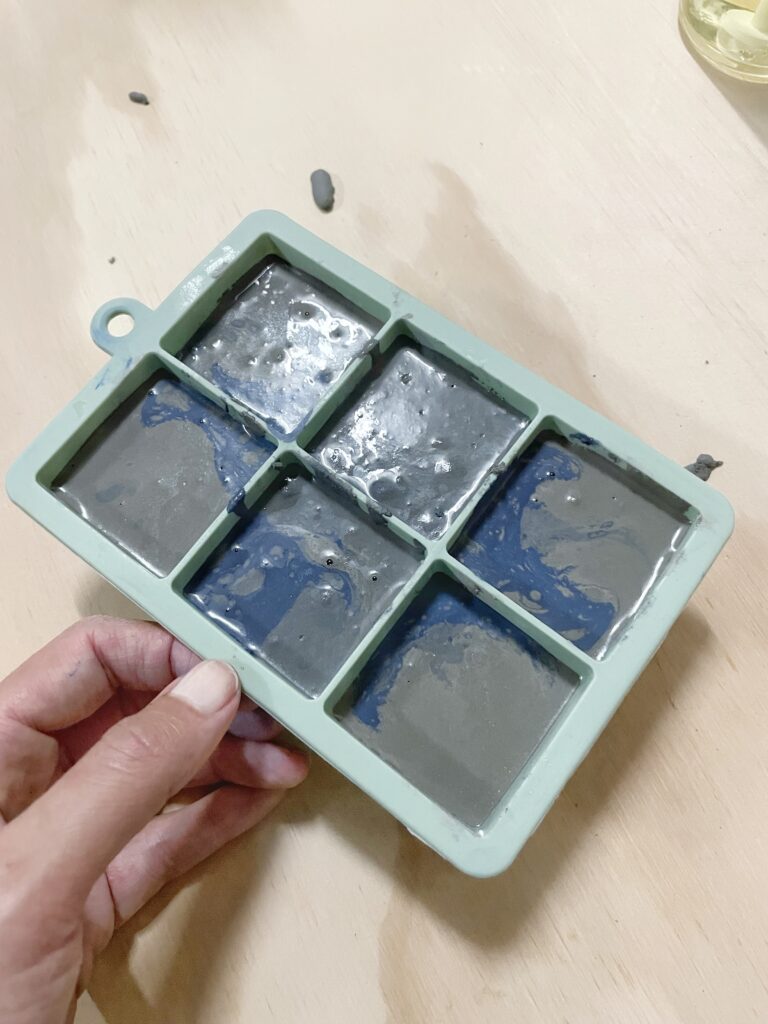
- A flexible mould, you can use plastic cups or cupcake trays. I used these ice cube trays from Kmart that I had lying around
- Oil (any cooking oil will do the trick)
Tools
- Container to mix concrete in
- Mixing spoon
- Sand paper or block
- Gloves
- Safety glasses
HOW TO
STEP 1 Oil the mould Pour some oil on a paper towel and coat your mould surface in a thin coat of oil. This will help de-moulding once the concrete has set.
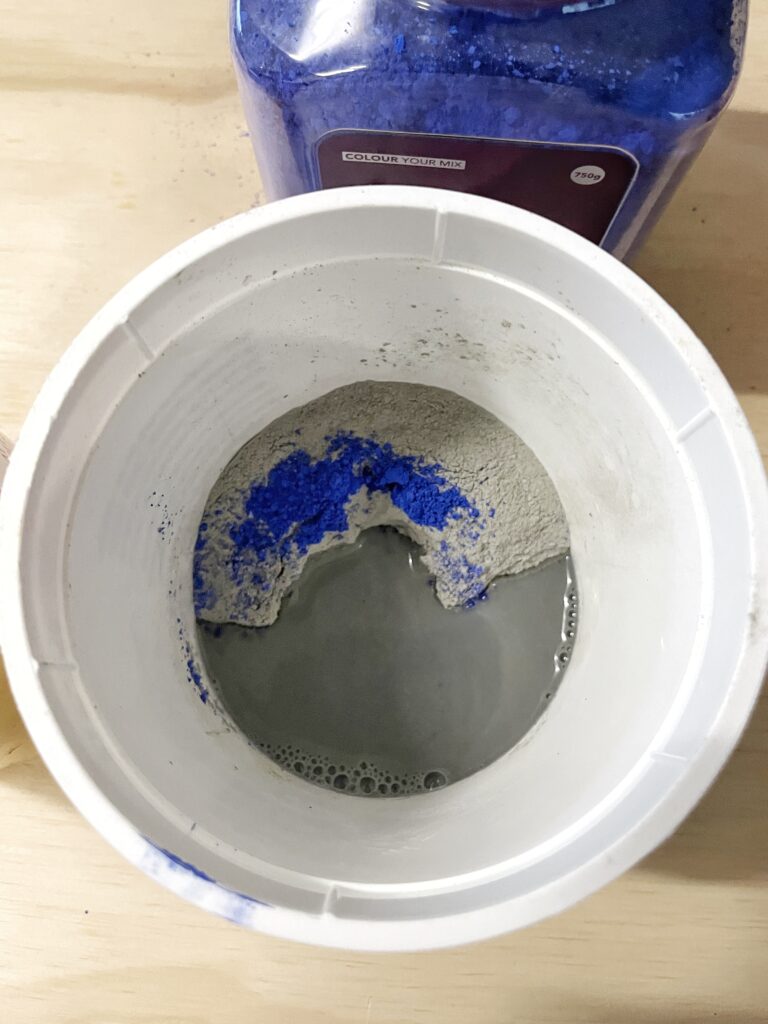
STEP 2 Mix concrete with water Add some concrete-sand mix to your container and slowly add water until you get a smooth easy to mix consistency. The more water you add the easier the concrete will be to pour but the less strength the concrete will have. Considering these weights are not structural, I add a little bit more water to make it easy to spoon into the mould.
An optional step is to mix some colour pigment or paint into half of the concrete mix.
Note: If you run out of concrete don’t worry, you have a bit of time so just mix some more!
STEP 3 Place or pour the concrete Spoon your concrete mixtures into the mould. If you have more than one concrete colour, interchange colours between each spoon to create a random colour variation.
Don’t forget to give your mould a bit of a shake and a tap to help the air bubbles rise to the top. This will give you a better finish.

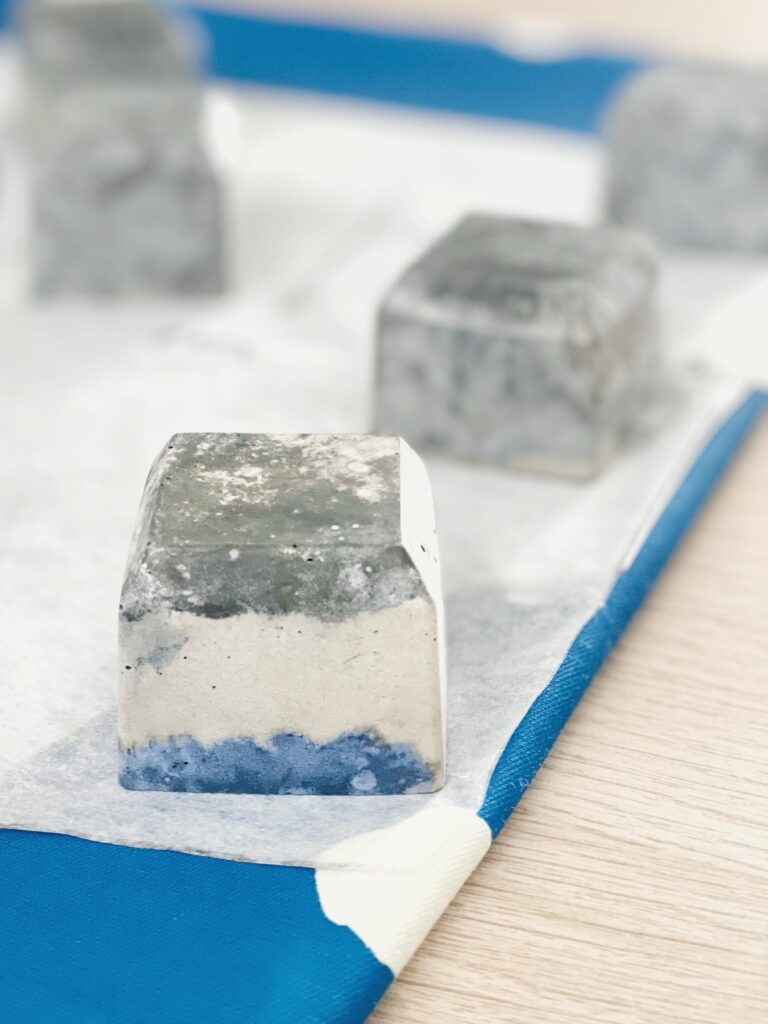
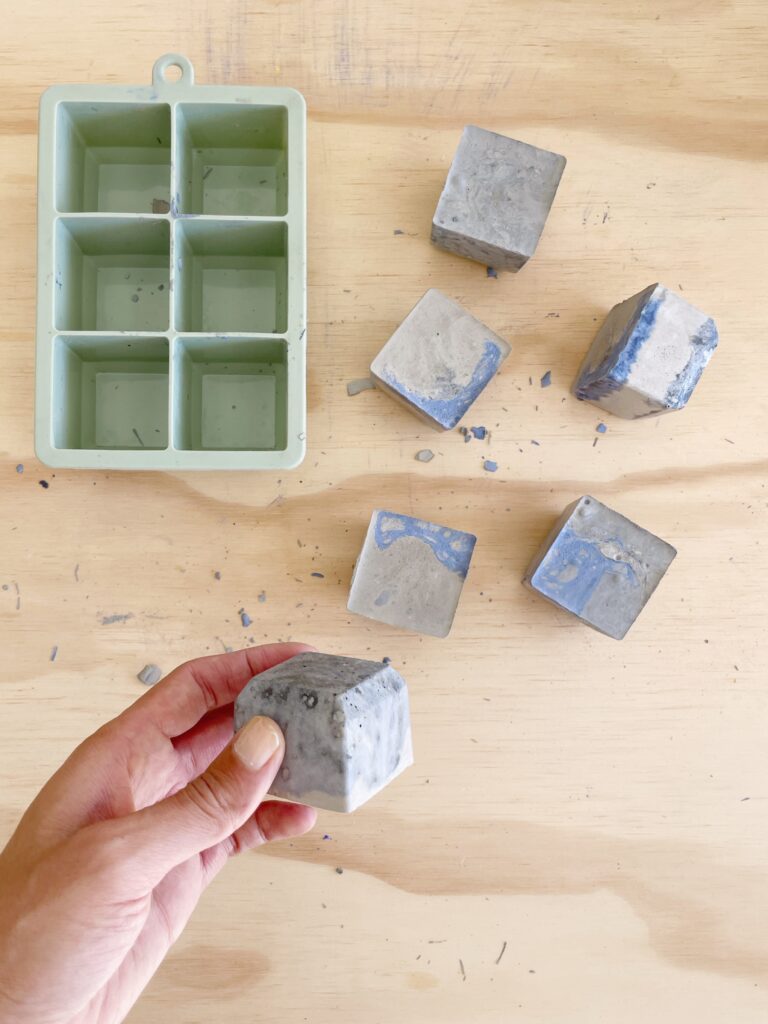
STEP 4 De-mould Wait at least 24 hours and then remove your blocks out of the mould.
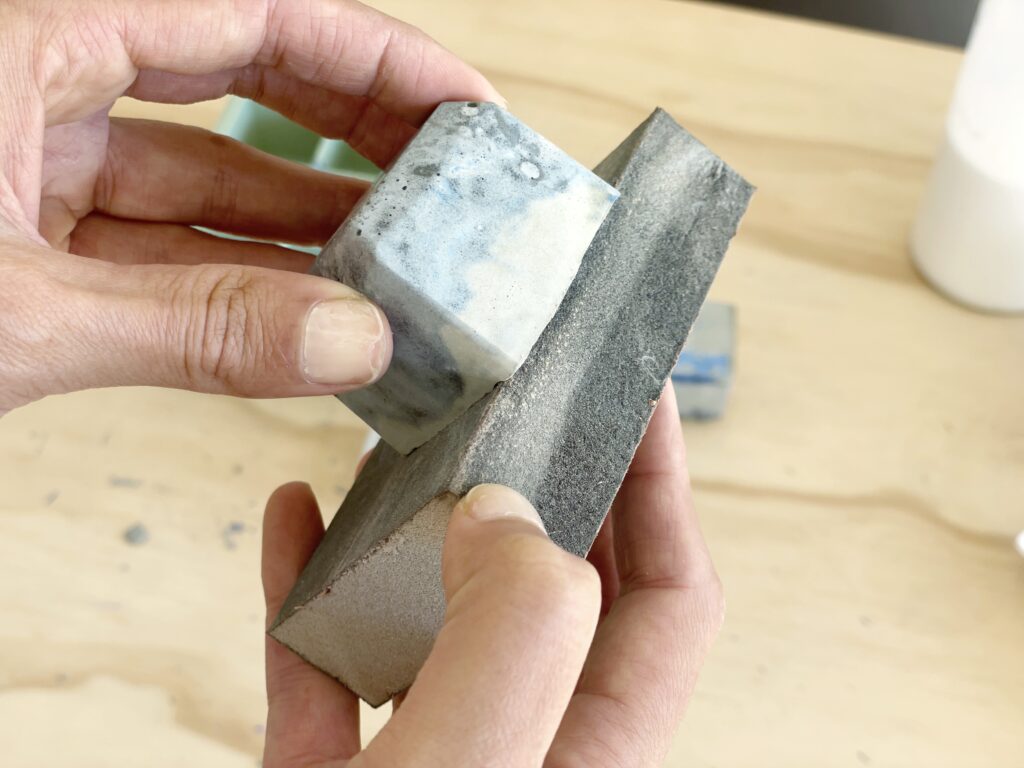
STEP 5 Sand and Finish Sand the bottom of the mould to remove any sharp bits.
STEP 6 Start sewing Now to test them out and use them! What to sew next!